How To Troubleshoot Zendesk DKIM Configuration Mismatches In DNS

Quick Answer
Learn how to troubleshoot Zendesk DKIM configuration mismatches in DNS by checking selector names, public keys, and TXT records. Discover how to correct DNS errors, verify DKIM signatures, and align Zendesk email settings to improve email authentication, deliverability, and domain security.
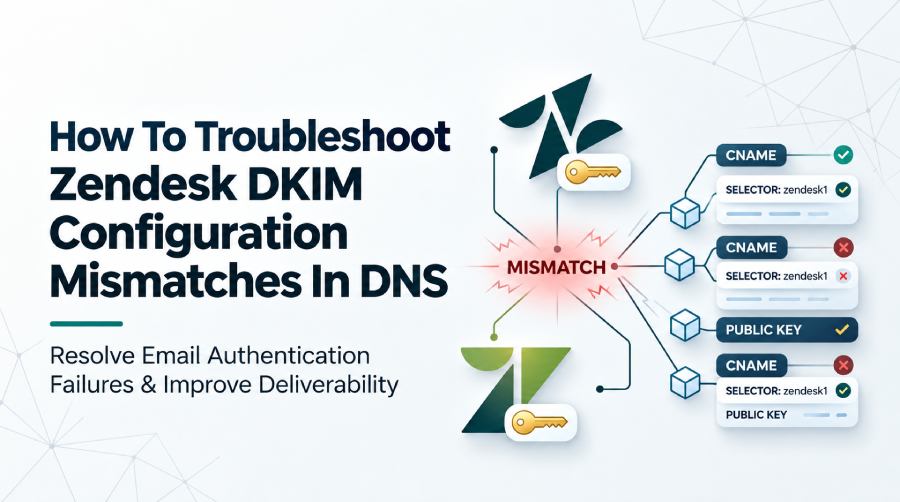
Incorrect Zendesk DKIM settings or DNS records can cause email authentication failures and affect message deliverability. Troubleshooting involves checking the required CNAME records, confirming selector values, reviewing Zendesk’s email settings, and testing the authentication results of outgoing messages.
What Is a Zendesk DKIM Configuration Mismatch?
DomainKeys Identified Mail (DKIM) is an authentication mechanism for emails that employs cryptographic signatures to confirm that a message was approved by the sending domain and that the signed parts of the email remain unchanged.
When Zendesk dispatches support notifications, ticket updates, or other customer-related messages, DKIM assists receiving mail servers in validating the authenticity of the message’s signature.
A configuration mismatch arises when the signing settings from Zendesk do not align with the DKIM records found in the domain’s DNS. For instance, Zendesk might use a selector for signing that refers to a non-existent DNS record, or there could be a discrepancy between the published public key and the private key utilized to sign the emails.
These discrepancies can lead to failures in DKIM authentication. While SPF and DMARC can offer supplementary layers of authentication, persistent DKIM issues can undermine email security and impact message deliverability.
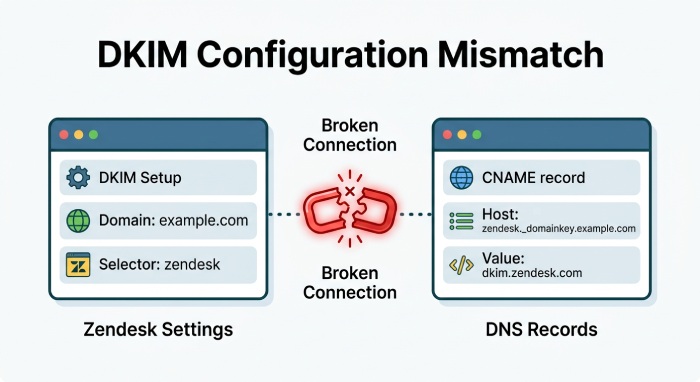
Common Causes of Zendesk DKIM and DNS Mismatches
Before troubleshooting, understand the most common causes of configuration problems.
- Incorrect selector: Zendesk uses a selector that does not match the selector published in DNS.
- Missing DNS record: The required DKIM TXT or CNAME record has not been created or is no longer available.
- Incorrect public key: The published key contains missing characters, formatting errors, or an outdated value.
- DNS propagation delays: Recent changes have not reached every recursive DNS resolver.
- Incorrect record hostname: The selector record is published under the wrong domain or subdomain.
- Conflicting configurations: An old record or an incorrect custom email configuration interferes with the intended setup.
Determining the probable cause simplifies the process of choosing the appropriate troubleshooting approach, rather than continuously altering DNS records without verifying the underlying issue.
1. Verify the DKIM Settings in Zendesk
Begin by examining the email setup in your Zendesk account. Access the Zendesk Admin Center and find the email settings linked to your support addresses. Depending on your account’s setup and the version of the interface you are using, these settings may be found within the channels or email administration sections.
Verify which support addresses are integrated with Zendesk and confirm if the appropriate custom email domain has DKIM authentication established.
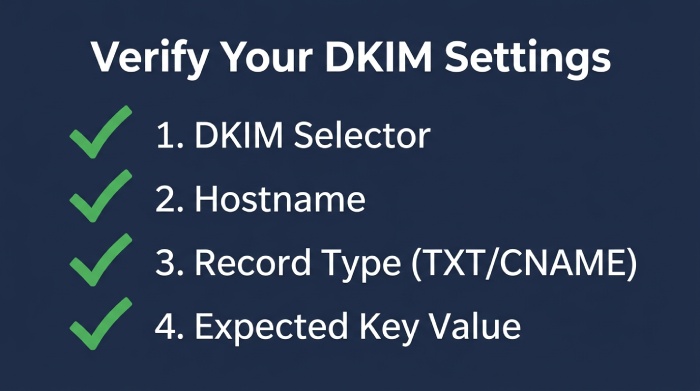
Next, identify the DNS records Zendesk instructs you to publish. Record the following details:
- DKIM selector or selectors.
- Complete DNS record hostname.
- Required record type, such as TXT or CNAME.
- Expected destination or public key value.
- Any additional verification instructions provided by Zendesk.
Why this matters: Ensure that your active DNS settings align with the values specified for your current Zendesk configuration, rather than relying on outdated implementation guidelines or information taken from another domain.
Should Zendesk offer a domain verification or authentication status, ensure to review it after assessing the settings. An unsuccessful status may indicate that the configuration requires additional examination.
2. Check the Published DKIM Record in DNS
The next step is to verify that Zendesk’s DKIM records are correctly published in your domain’s DNS. Zendesk’s documented DKIM setup uses CNAME records for its domain keys, including zendesk1 and zendesk2.
Check the exact CNAME hostnames and target values provided in your Zendesk account. Do not assume that every configuration uses identical record values.
You can inspect the records using the dig command:
dig CNAME zendesk1._domainkey.example.com
dig CNAME zendesk2._domainkey.example.com
Replace example.com with your actual domain and use the exact hostnames supplied by Zendesk.
To compare results from a public DNS resolver, run:
dig @8.8.8.8 CNAME zendesk1._domainkey.example.comRepeat the lookup for the second record. Compare the returned CNAME targets with the values expected by Zendesk.
If a record is missing, points to an unexpected destination, or uses an incorrect hostname, review the DNS configuration with your domain administrator. Recent changes may also take time to become visible because of DNS caching and TTL settings.
For additional guidance, consult Zendesk’s official DKIM configuration verification guide.
3. Compare the DKIM Selector With the Email Signature
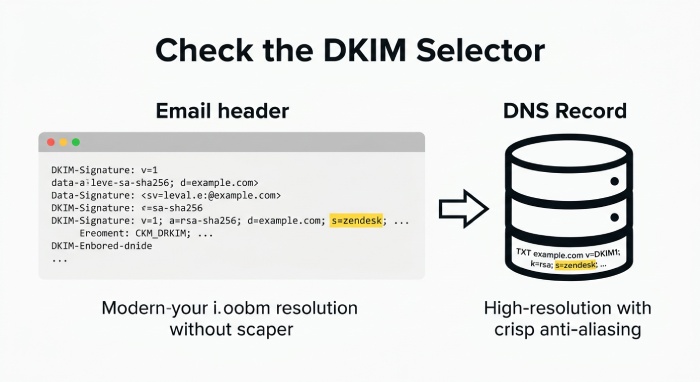
A DKIM selector mismatch happens when the selector employed to sign an email does not align with the selector found in DNS records. This selector is specified in the DKIM-Signature header as the s= parameter, while the signing domain is represented by the d= parameter.
For example:
DKIM-Signature: v=1; a=rsa-sha256;
d=example.com; s=zendesk2026;
In this simplified example, the receiving server looks for the public key associated with zendesk2026 under the signing domain’s _domainkey namespace.
To investigate:
- Send a test email through Zendesk to an external mailbox you control.
- Open the received message and display its original headers.
- Find the DKIM-Signature header.
- Note the
d=ands=values. - Compare them with the hostname and record published in DNS.
If the email employs a selector that differs from your established configuration, please refer back to the latest guidelines and signing settings provided by Zendesk. Avoid generating arbitrary selectors or altering existing entries until you have verified the expected values required by the service.
4. Validate the DKIM Public Key or CNAME Target
Authentication may fail if a Zendesk DKIM CNAME record is missing, incorrectly configured, or points to an unexpected destination.
To troubleshoot the issue, review the following:
- Incorrect CNAME target: The published record points to a destination that differs from the value provided by Zendesk.
- Incorrect hostname: The DKIM record is published under the wrong domain or subdomain.
- Missing record: One of the required DKIM CNAME records has not been created.
- Outdated configuration: A previous target remains in DNS after an email configuration change.
- Incorrect DNS entry: The DNS provider has appended the domain name to the hostname incorrectly.
Use a DNS lookup tool to retrieve the published CNAME target, then compare it with the current configuration provided by Zendesk. Check both DKIM records if your setup uses the zendesk1 and zendesk2 selectors.
Do not replace a CNAME record with a TXT record or manually edit cryptographic key values unless Zendesk’s instructions for your specific configuration require it. If the published target differs from the expected value, correct the DNS entry and allow time for caching to expire before testing authentication again.
5. Investigate DNS Propagation and Caching
Run the same CNAME lookup against more than one public DNS resolver and compare the returned targets. You can use:
dig @8.8.8.8 CNAME zendesk1._domainkey.example.com
dig @1.1.1.1 CNAME zendesk1._domainkey.example.com
Repeat the checks for the second selector. Replace the example domain with your actual domain and use the exact record hostnames supplied by Zendesk.
If the results differ, investigate DNS caching, Time-To-Live(TTL) settings, and whether the latest changes have reached the authoritative DNS servers.
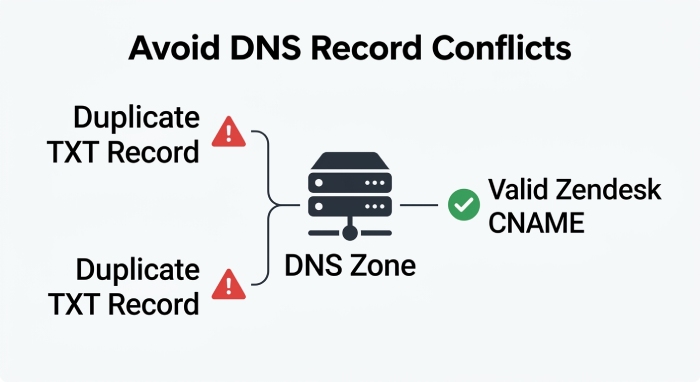
6. Check for Conflicts With Other DNS Records
DNS conflicts can arise when multiple administrators manage email authentication or when records are copied between environments.
Review the relevant DNS zone for:
- Duplicate or conflicting records at the same DKIM hostname.
- Incorrect CNAME and TXT combinations.
- Records published under the wrong domain.
- Legacy selectors from a previous email configuration.
- DNS changes made during a migration or provider switch.
A domain may contain various DKIM selectors for different email services, so having multiple DKIM records is not necessarily a mistake. The key issue is whether the selector in a specific Zendesk message points to the correct public key.
Additionally, review SPF and DMARC independently. SPF verifies authorized sending sources, while DMARC checks domain alignment based on SPF and/or DKIM outcomes. Correcting a DKIM record does not ensure resolution of SPF failures or DMARC alignment issues.
7. Test DKIM Authentication After Making Changes
After correcting the DNS configuration, send a new test email through the affected Zendesk support address. Open the original message headers and inspect the Authentication-Results header.
Look for a result similar to:
Authentication-Results: mx.example.net;
dkim=pass header.d=example.com
This is an illustrative example, not a guaranteed Zendesk output format. Check that DKIM passes and that the signing domain matches the expected configuration.
If DMARC also fails, investigate domain alignment. A DKIM pass does not automatically mean DMARC passes: the DKIM signing domain must align with the domain in the visible From address for DKIM to satisfy DMARC.
If DKIM still fails, review the reported error, the selector in the signature, and the corresponding DNS record. Remember that successful authentication alone does not guarantee inbox placement.
8. Prevent Future Zendesk DKIM Configuration Mismatches
Regular monitoring and change management can reduce the risk of authentication failures.
Follow these practices:
- Document DNS settings: Maintain an inventory of Zendesk selectors, record types, hostnames, and destinations.
- Monitor DNS changes: Review authentication records after domain migrations, DNS provider changes, or email configuration updates.
- Recheck authentication: Periodically send test messages and review their authentication headers.
- Coordinate administrators: Ensure support, security, and DNS teams use the same approved configuration.
- Avoid unnecessary edits: Do not remove active selectors or rotate keys without understanding their dependencies.
- Monitor DMARC reports: Use reporting data to identify unexpected authentication failures and unauthorized senders.
These steps help identify configuration drift before it affects a large volume of customer communications.
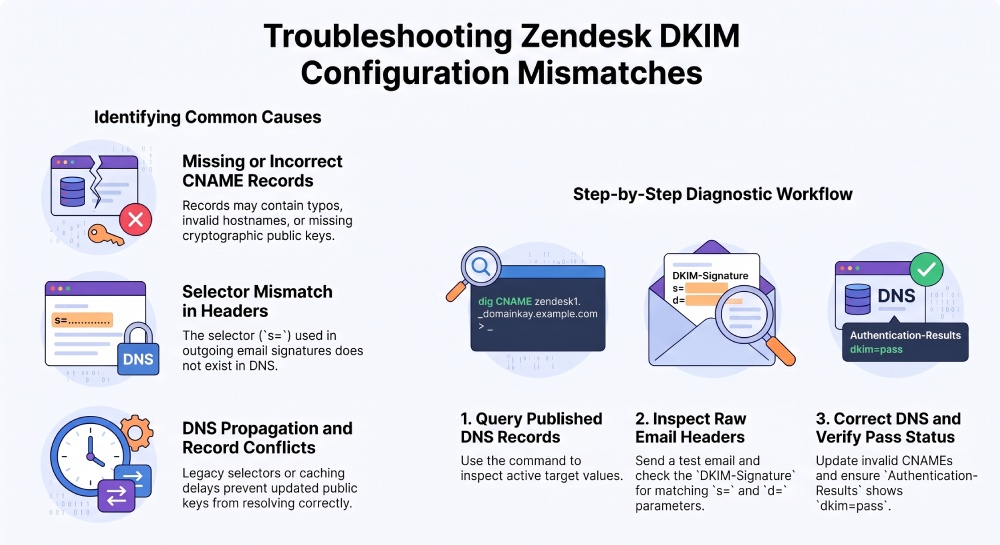
Troubleshooting Zendesk DKIM configuration mismatches starts with comparing the expected DNS records with the published CNAME targets and the selectors used in actual email signatures. Verify both Zendesk DKIM records, investigate DNS caching when necessary, and retest authentication after making corrections.
Regular DNS reviews and email-header checks can help identify configuration problems early and maintain reliable email authentication for Zendesk communications.
General Manager
General Manager at DuoCircle. Product strategy and commercial lead across the email security portfolio.
Secure your email infrastructure
Protect, authenticate, and deliver. Contact our team to find the right solution.