How do you configure DKIM keys for Salesforce
DKIM is a cryptography-based email authentication protocol that ensures that only authorized people send emails on your behalf and that nobody changes the content of the message in transit. Salesforce highly encourages its users to deploy SPF, DKIM, and DMARC to protect their domain and email receivers from getting duped. Salesforce has also made it quite straightforward to integrate and configure DKIM so that most of your outgoing emails land in the inboxes of recipients and not their spam or junk folders. With DKIM, the chances of your emails getting marked as spam go down significantly.
Steps to generate a DKIM key in Salesforce
DKIM, when combined with SPF and DMARC, strengthens your email infrastructure, keeping phishing and spoofing attacks at a distance. So, let’s see how you can achieve this by enabling DKIM in Salesforce.
- Login to your Salesforce account with administrative privileges.
- Open ‘DKIM settings’ by clicking on the gear icon you will see in the top right corner.
- Go to the ‘Quick Find’ box and type ‘DKIM.’ Under the ‘Email’ section, select the ‘DKIM keys’ option.
- Click the ‘Create new key’ and fill in the following fields-
- Domain: Enter the domain name you want to sign your emails with.
- Selector: Enter a unique name for the DKIM selector (e.g., salesforce2024). This selector will be used to differentiate this key in your DNS records.
- Key size: Choose a key size. Salesforce typically offers 1024-bit or 2048-bit keys, which provide stronger email security.
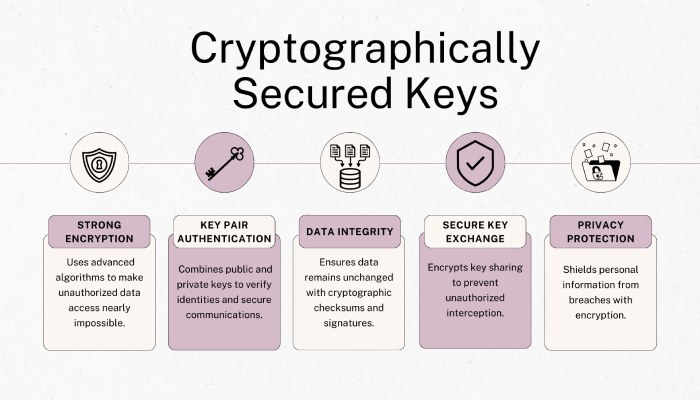
- After filling out the details, click ‘Generate,’ and you will receive a pair of cryptographically secured public and private keys. These keys will be produced by Salesforce exclusively for your domain.
How to add the DKIM key in Salesforce?
After the DKIM key is generated, Salesforce will display the public key along with the exact DNS TXT record format that needs to be added to your domain’s DNS settings. Follow these steps:
- Copy the public key and DNS TXT record format provided by Salesforce.
- Log in to your DNS provider’s platform and locate the option to add a new TXT record.
- Enter the following details:
- Name: This should be a combination of the DKIM selector and your domain, e.g., salesforce2024._domainkey.yourdomain.com.
- Type: Choose TXT.
- Value: Paste the public key from Salesforce.
Save the new TXT record in your DNS settings. The changes may take 24 to 48 hours to propagate across the internet.
Monitor the status of the keys in the Salesforce panel to ensure they function properly.


