How do we fix the custom domain configuration problems for Azure Email Communication?
Email deliverability is the backbone of email marketing campaigns; your effort in strategizing and executing the campaign will go to complete waste if half of your emails don’t reach the inboxes of the intended recipients. If you have deployed email authentication protocols like SPF and DKIM and ensured their TXT records aren’t amiss, receiving mail servers will consider emails sent from your domain by authorized senders as genuine and, hence, will not hesitate to place them in the inboxes.
It’s your part of the job to ensure consistency in your email communication; this is an element of good customer service. You are encouraged to customize your domain configuration as per your business tolerance and expectations from email security. This practice helps you better track and analyze how your email campaigns are performing and whether or not they require any adjustments.
But if you are facing any issues customizing domain configurations in Azure, then consider this as your guide.
Problem- Can’t verify custom domain status
To verify the ownership of your custom domain, add a TXT record to your domain’s DNS hosting provider. During verification, Azure Email Communication Service attempts to read the TXT record from your domain. If it fails to find the record, the verification will not succeed.
If verification fails, follow these steps to troubleshoot and resolve the issue:
- Copy the TXT record provided in the Azure portal, which will look similar to this:
ms-domain-verification=43d01b7e-996b-4e31-8159-f10119c2087a
- If you haven’t already, add the TXT record to your domain registrar or DNS hosting provider.
-
Verify that the TXT record has been added by checking your domain’s TXT records.
- Use the nslookup tool in Windows Command Prompt with this command: nslookup -q=TXT YourCustomDomain.com.
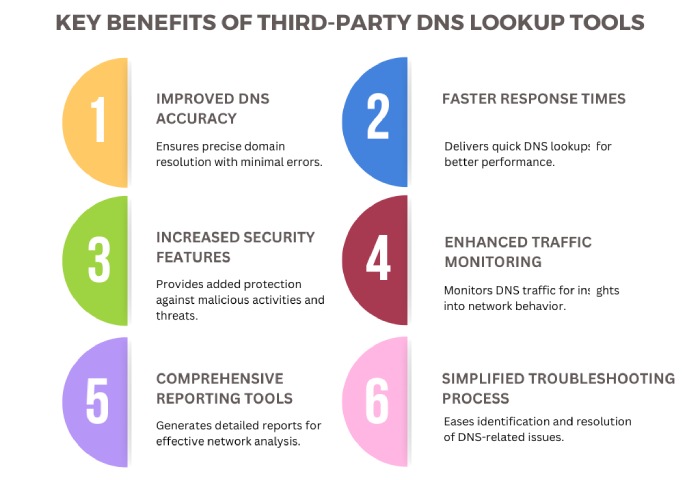
- Alternatively, use a third-party DNS lookup tool like MxToolBox.
- Review the list of TXT records for your domain. If the record is missing, Azure Email Communication Service won’t be able to verify your domain.
Problem- Can’t verify SPF status
SPF status can show the ‘failed’ status for many reasons. Try fixing it.
- Copy the SPF record provided in the Azure portal, which should resemble this: `v=spf1 include:spf.protection.outlook.com -all`.
- Review your domain’s TXT records. If the SPF record is missing, Azure Email Communication Service will not be able to verify it.
- Confirm that the SPF record uses `-all` instead of `~all`, as `~all` will cause SPF verification to fail.
- Add the SPF record to your domain registrar or DNS hosting provider.
-
After adding the record, verify it using one of these methods:
- Use the `nslookup` tool in Windows Command Prompt with the command:
`nslookup -q=TXT YourCustomDomain.com`.
- Alternatively, check the SPF record using a third-party DNS lookup tool.
If propagation delay is suspected, wait a few hours and test again. Also, consider consolidating multiple SPF records into one to avoid conflicts.
Problem- Can’t verify DKIM status
If DKIM verification fails in Azure Email Communication Service, follow these steps:
- Open Command Prompt and run `nslookup`.
- Type: `set q=TXT`.
- Check for DKIM records using `selector1`: `selector1-azurecomm-prod-net._domainkey.contoso.com`.
This command retrieves the CNAME DKIM records for your domain. If the records appear in the output, Azure should verify DKIM.
If the records are missing, Azure cannot verify DKIM, which could weaken email security and increase the risk of spoofing or delivery failures.


