SPF, DKIM, and DMARC Setup for Mailchimp
Mailchimp is a popular email marketing service that businesses use to create, send, and analyze email campaigns. If you also use Mailchimp, configuring SPF, DKIM, and DMARC will enhance your email deliverability and email security.
SPF ensures that only approved servers can send emails from your domain, reducing fake emails. DKIM adds a digital signature to verify emails aren’t altered. DMARC uses SPF and DKIM to set rules for handling unauthenticated emails and provides reports to improve security. Together, these settings protect your domain’s reputation, prevent phishing, and improve email delivery.
Domain Name Verification
You have to follow a few simple steps to set up domain name authentication for your domains. To begin authentication, you have to verify your domain name like this-
- Log in to Mailchimp, click on your profile icon, and select ‘Profile.’
- Click ‘Domains.’
- On the Domains page, select ‘Add & Verify Domain.’
- You will see a ‘Verify a Domain’ popup, where you need to enter your email address and click ‘Send Verification Email.’
- You will receive a verification email at your address that will include a verification code. Enter the code and click on ‘Verify.’
- Finally, you will receive a confirmation email.
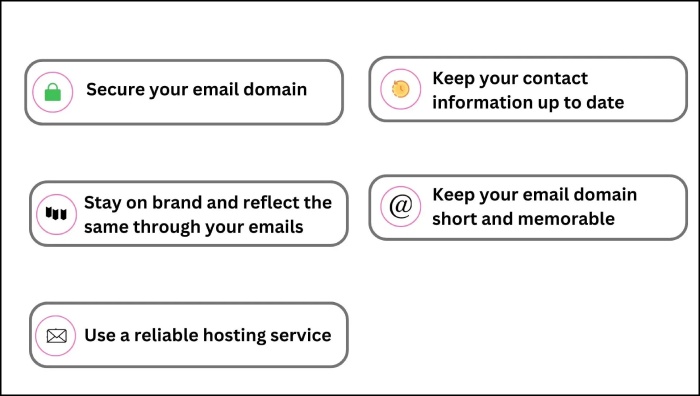
Selecting the Best Email Domains
Setting Up SPF For Mailchimp
There is no need to manually configure SPF for Mailchimp as they have removed the “include.mcsv.net” mechanism. Typically, emails from third-party sources like Mailchimp would fail SPF alignment, making it unnecessary to add Mailchimp to your SPF record. This also reduces the SPF lookup count. Instead, it’s crucial to set up DKIM with your DMARC configuration. Since DMARC requires either SPF or DKIM to pass, having DKIM ensures your emails authenticate even if SPF fails.
Setting Up DKIM For Mailchimp
DKIM prevents threat actors from altering the email content in transit. Here’s what you need to follow to enable it for Mailchimp-
- Log in to Mailchimp, click on your profile icon, and select ‘Profile.’
- Click ‘Domains.’
- On the next page, you will see your domain name. Against it will be a button saying ‘Start Authentication.’ Click it.
- Select your domain provider from the drop-down list.
- Click ‘Next.’
- Add the values asked for, and Mailchimp will generate CNAME records for your domain.
- Copy the CNAME record values and paste them to your DNS management console.
- Use a credible online DKIM checker tool to verify your Mailchimp DKIM setup.
- Go back to the Mailchimp portal and click ‘Next.’
Setting Up DMARC For Mailchimp
- Use an online tool to produce a DMARC record.
- Choose the DMARC policy (none, quarantine, or reject) that best suits your emailing habits, expectations from DMARC, and tolerance for false positives.
- Configure DMARC for Mailchimp by publishing the record on your DNS database.
- Use an online DMARC record lookup tool to ensure your record is free of mistakes and suitable for authentication checks.
- Once done, go to Mailchimp and confirm your authentication. If you see ‘Authenticated’ status against your domain name, then it’s good. Otherwise, recheck all the steps to see where you went wrong.


