How to get started with BIMI for Zoho Mail- a guide to acquiring a verified checkmark
After Gmail and other key players, Zoho Mail is now openly supporting BIMI, allowing senders to display their brand logos with a blue verified checkmark in Zoho mailboxes. Email security risks are on the rise, stressing 95% of the top 500 cybersecurity leaders about it.
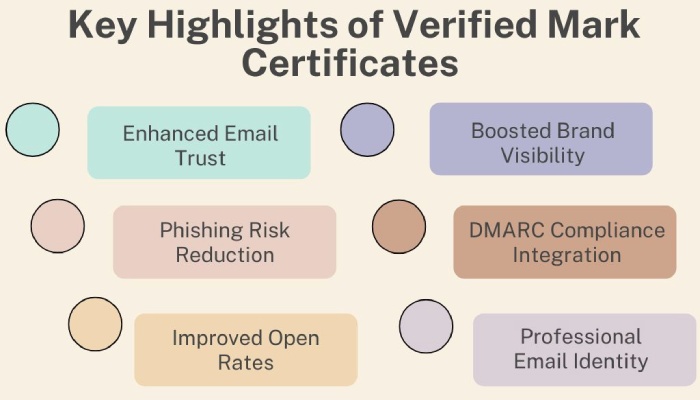
Given such instances and reports, setting up BIMI for Zoho Mail is all the more important to establish trust and improve engagement. With Zoho Mail’s DMARC compliance, BIMI further strengthens email security by authenticating your domain and reducing the risk of phishing. This combination enhances deliverability, helps build customer confidence, and aligns your emails with industry-leading authentication practices.
Requirements for setting up BIMI for Zoho Mail
Deploying BIMI requires a strong email authentication base. Here is what you have to ensure-
Properly configured SPF for your domain
A properly configured SPF record ensures that only authorized IP addresses and mail servers are being used to send emails from your domain. This blocks fake emails from unapproved IPs and servers, keeping your domain and business reputation safe.
Properly configured DKIM for your domain
DKIM helps maintain the integrity of emails sent from your domain by checking whether the email was actually sent by the claimed sender and if it was altered in transit. This email authentication protocol involves a pair of cryptographically secured public and private keys.
Properly configured DMARC for your domain
To implement BIMI, you are required to configure a DMARC record for your domain and publish it on the DNS. DMARC builds on SPF and DKIM results, empowering you to instruct recipients’ mail servers on how to handle fraudulent emails sent from your domain.
Depending upon your expectations from email authentication and tolerance for false positives, you can choose a ‘none,’ ‘quarantine,’ or ‘reject’ policy. But for BIMI, you can’t set your DMARC record on the ‘none’ policy as it provides no protection; the ‘none’ policy is only meant for monitoring. To set up Zoho BIMI, first enforce your email policy, then begin the BIMI setup.
Getting a Verified Mark Certificate (VMC)
Verified Mark Certificate lets you verify the ownership of your brand logo so that you can use it to set up BIMI. A VMC isn’t always needed for BIMI, but some providers like Zoho Mail require it. Trusted authorities like DigiCert can issue VMCs for businesses.
Steps to configuring BIMI for Zoho
Prepare Your Brand Logo
- Convert your logo to SVG Tiny 1.2 format using a BIMI SVG logo converter.
- Ensure the logo is square, under 32 KB, and has a solid background.
- Avoid animations or interactive elements.
Generate a BIMI Record
- Sign up for free on online BIMI record-generating tools.
- Enter your domain name, logo URL, VMC, selector (optional), and email address (optional).
Create and Configure Your BIMI Record
- Enter your domain name, logo URL, and VMC certificate details.
- Publish the generated BIMI record in your DNS.
- Example TXT record: v=BIMI1;l=https://domain.com/image.svg;a=https://domain.com/certificate.pem
Verify Your BIMI Record
- Use a credible BIMI lookup tool to confirm the record is correctly set up.
Once done, your BIMI logo will appear in Zoho Mail and other email clients supporting BIMI.


